-

How A Single Camera and Lens Setup Can Improve Your Photography?
I used to be a victim of G.A.S. (gear addiction syndrome) for a long time. I used to save money month after month, hunt for different cameras, lenses and other equipment in the hope that it will improve my photography. But each new piece of gear increased my options and…
-

How Creative Constraints Can Improve Your Photos
We all crave for that one camera or lens that we think is the solution of all of our problems. The lens that creates that lovely bokeh we’re always looking for. The camera which is so small and sneaky that we can take any candid photograph without being noticed. The…
-
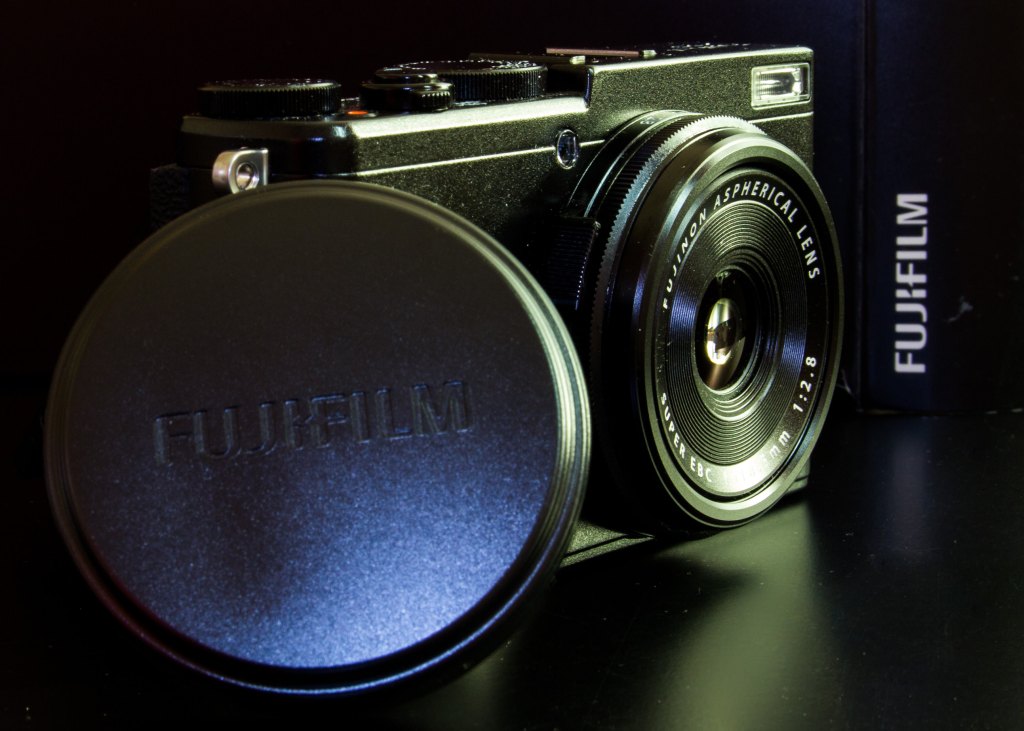
Fujifilm X70 User Review: Sweet for Street
Guys, this post is published at photodoto.com. Please find it here… Fujifilm X70 User Review: Sweet for Street
-
What is Street Photography? A Rookie’s Guide to Developing (Photography) Street Cred
What is street photography? There are many ways to describe and explain street photography, but honestly, I hate definitions. I think they limit your vision. And vision is essential. To me, street photography is just documenting human life. Period. Candid or with permission? I don’t care. Color or black and…
-
10 Street photography project ideas to get you going
Being a street photographer is quite an exhaustive experience when you are not on top of your game. Even the seasoned professionals feel this way during their long and successful careers. The best way to cope up with that pressure is to narrow down your vision to only certain things.…
-
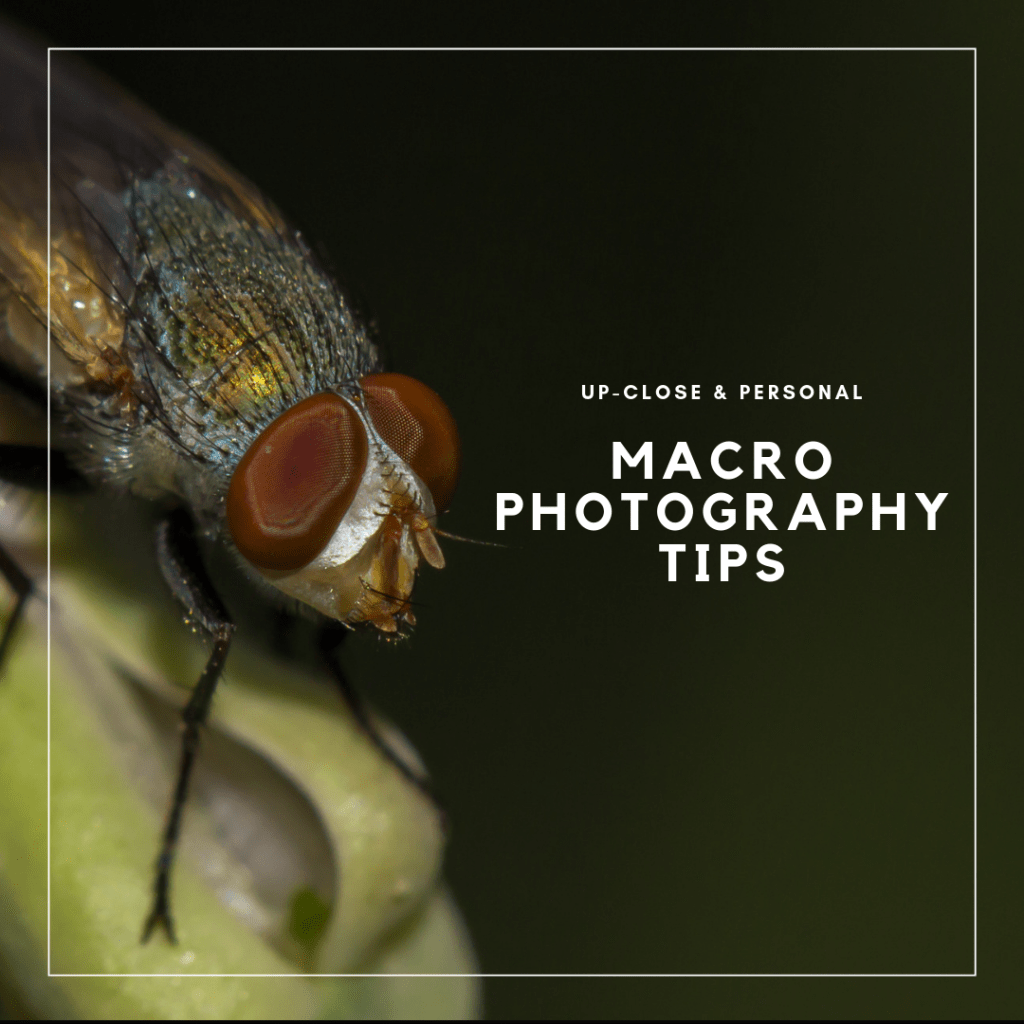
Up close and Personal – MACRO Photography Tips
Whether you accept it or not, we all love MACRO photographs. I mean, who doesn’t like an intensely detailed bug or a flower on a silky creamy background? The first thing that we do after getting our hands on DSLR for the first time is to go to our backyard…
-
Photography Composition Essentials : Depth or Perspective
If your photograph engages a viewer more than 5 seconds, it means it has something for the viewer to look into. If we keep aside the story part and strictly look into the aesthetic aspects of a photograph, what composition rule or principle actually responsible for all that viewer’s attention?…
-

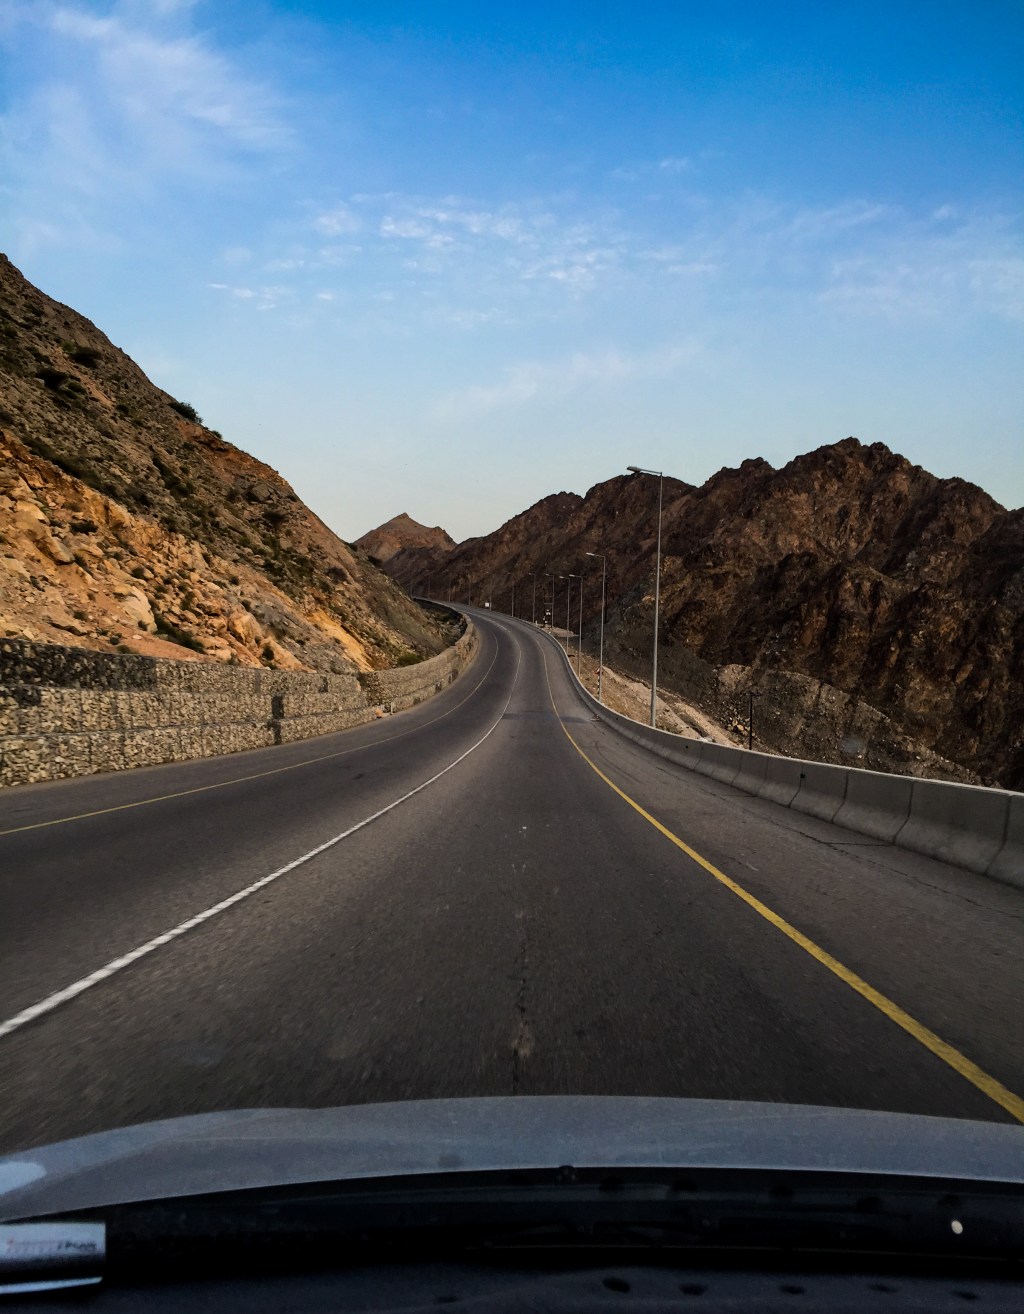
Oman for Photographers
If you just moved to Oman or planning to move here and you are addicted to photography as well then chances are that you are looking for places where you could satisfy your appetite for photography. The good news is, Oman is an ideal place for photographers. Whether you are…
-

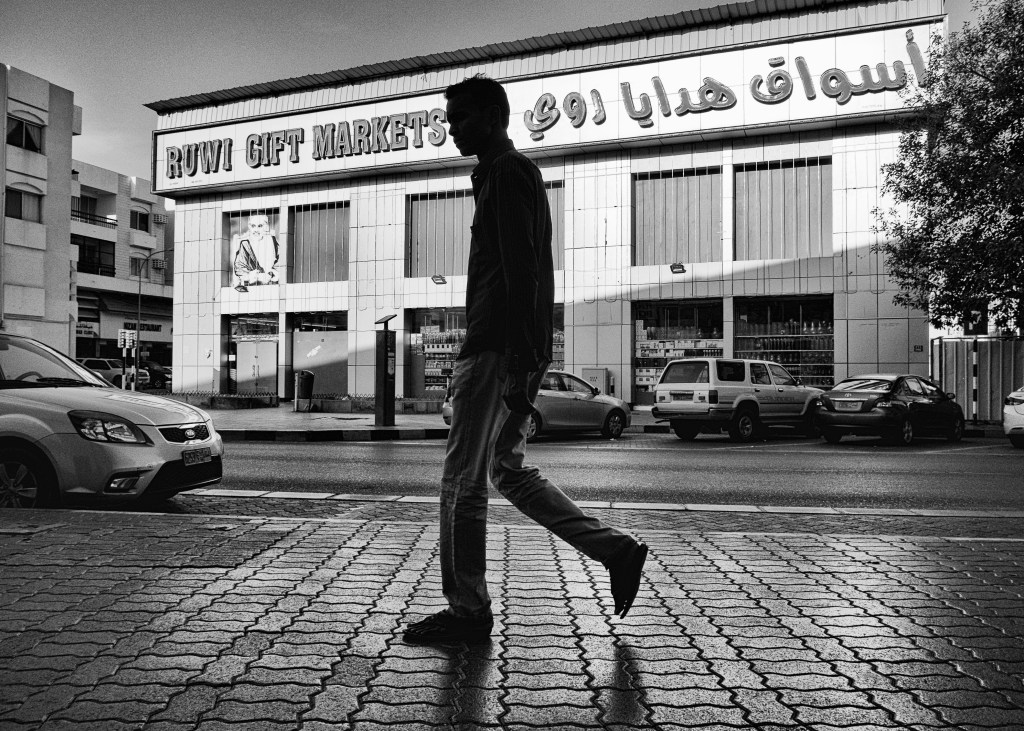
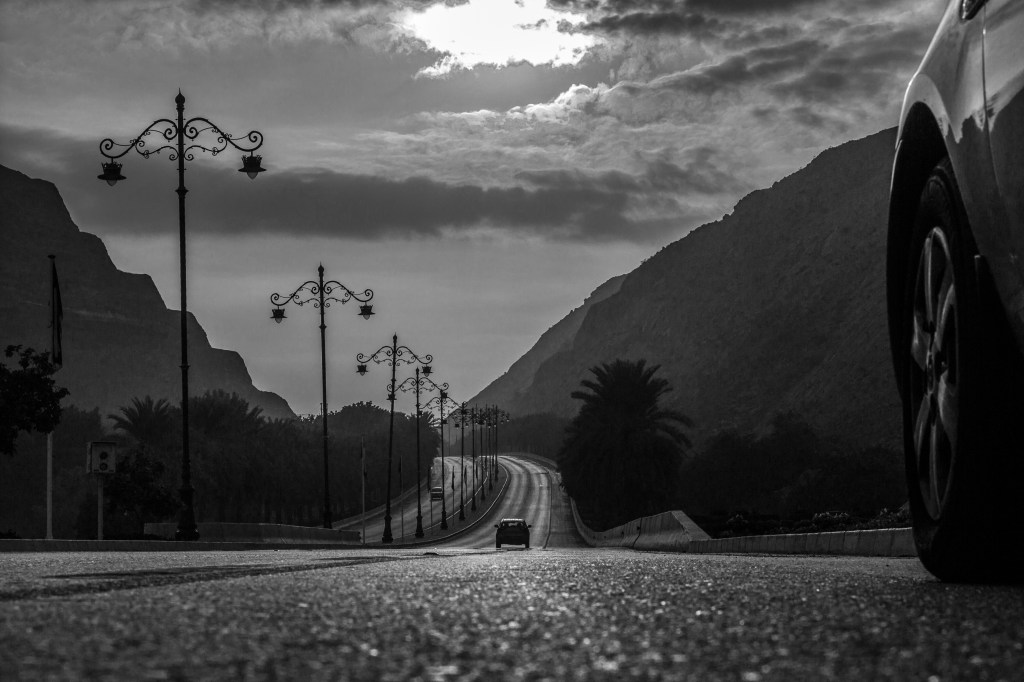
Why silhouettes are beautiful
I love silhouettes as much as I love shooting in black and white. They are unorthodox. They don’t have much definition but they contain much more drama. Whats actually amazing about silhouettes is that rather than major attention on subject , the actual center of attraction is background.This makes it…
-
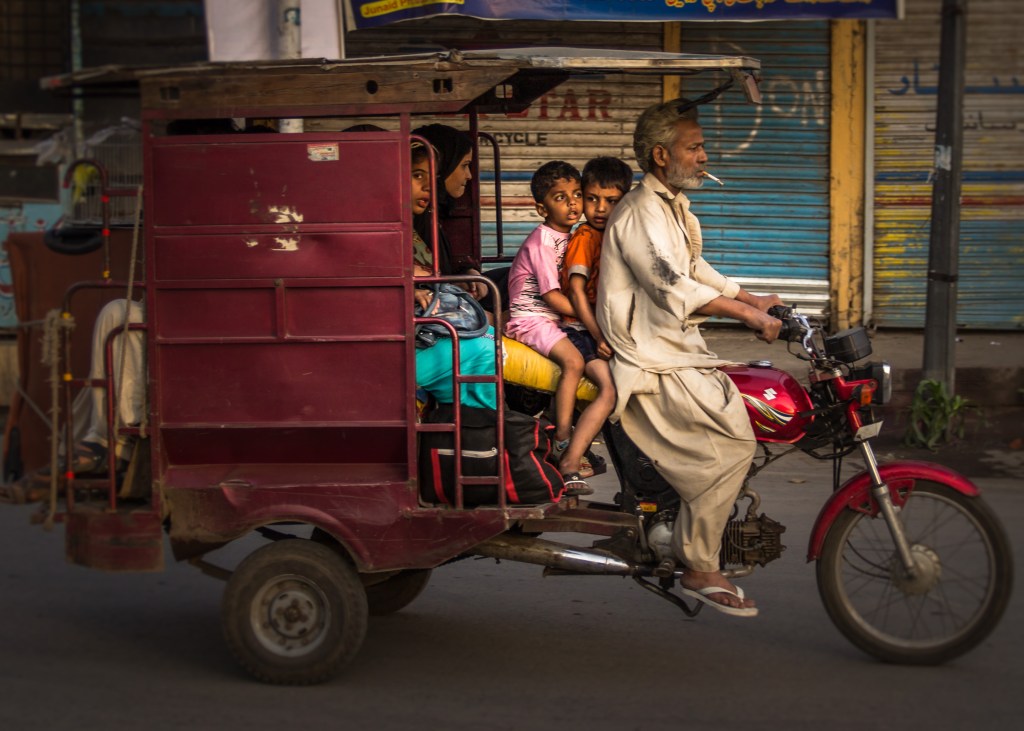
The Power of Black and White photography
There are the reasons why we like black and white photographs. The photographs that tell story bound to have some specific characteristics that are best suited for monochrome treatment. Now here is the list of techniques that you can employ to create really stunning black and white photographs
-
Subscribe
Subscribed
Already have a WordPress.com account? Log in now.
