Category: article
-
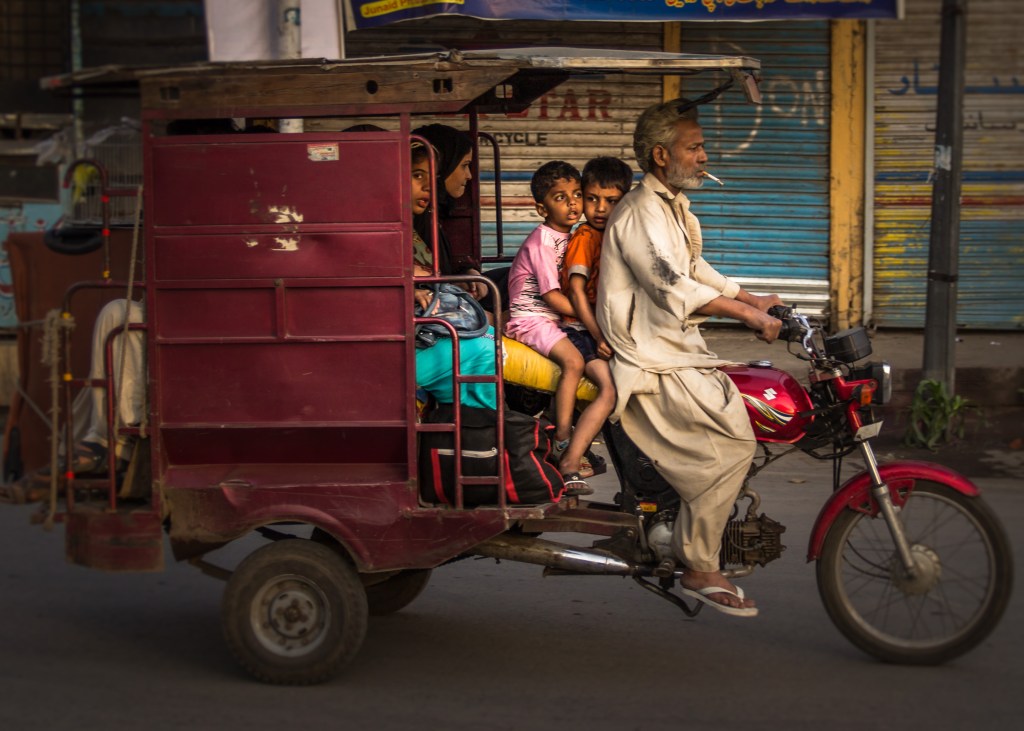
10 Street photography project ideas to get you going
Being a street photographer is quite an exhaustive experience when you are not on top of your game. Even the seasoned professionals feel this way during their long and successful careers. The best way to cope up with that pressure is to narrow down your vision to only certain things.…
-
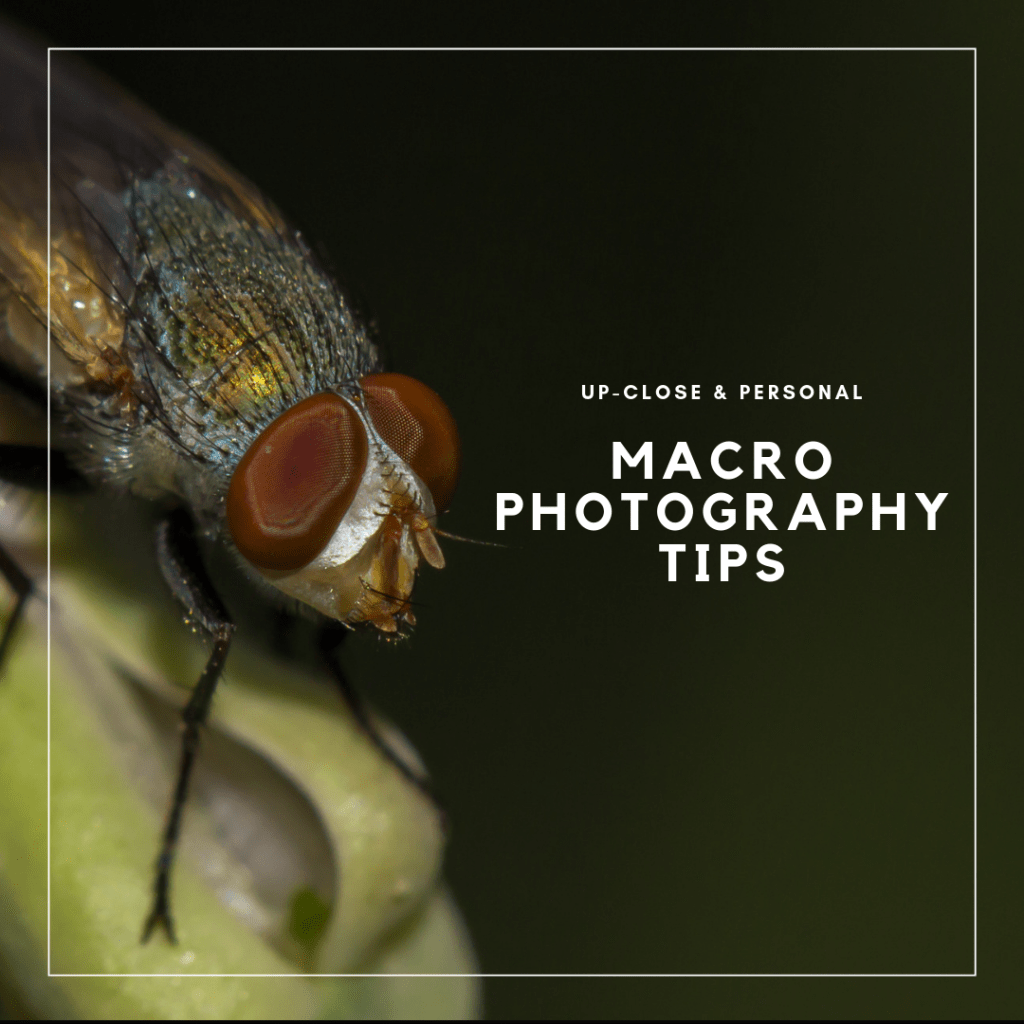
Up close and Personal – MACRO Photography Tips
Whether you accept it or not, we all love MACRO photographs. I mean, who doesn’t like an intensely detailed bug or a flower on a silky creamy background? The first thing that we do after getting our hands on DSLR for the first time is to go to our backyard…
-
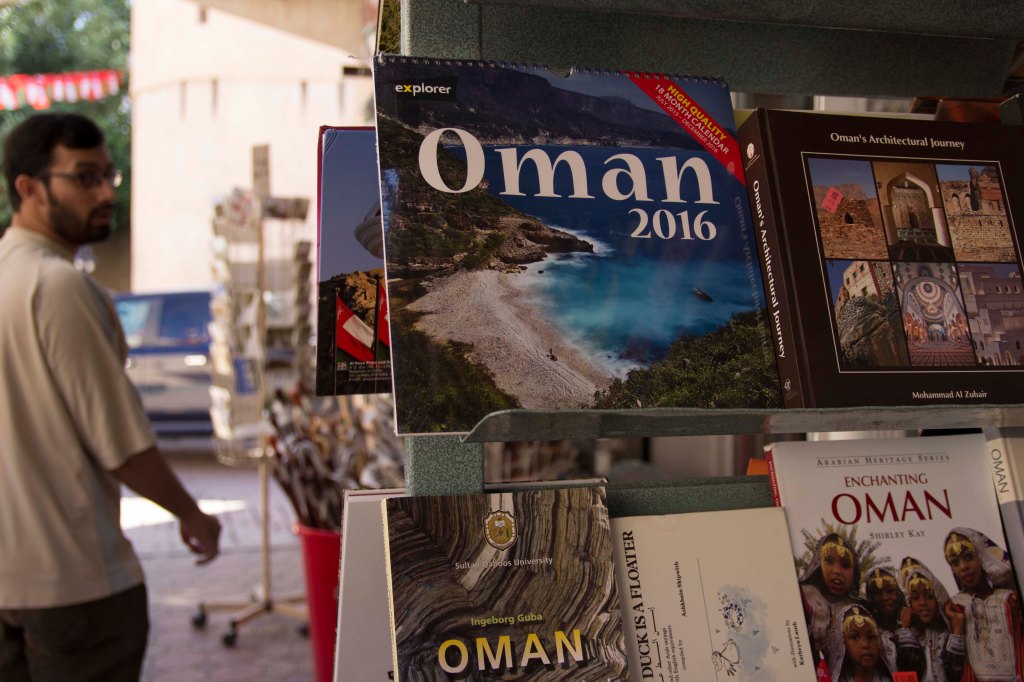
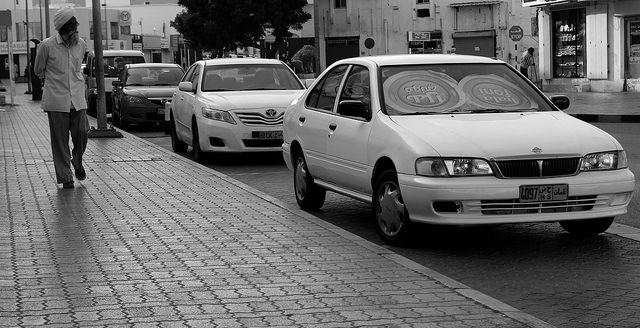
Oman for Photographers
If you just moved to Oman or planning to move here and you are addicted to photography as well then chances are that you are looking for places where you could satisfy your appetite for photography. The good news is, Oman is an ideal place for photographers. Whether you are…
-
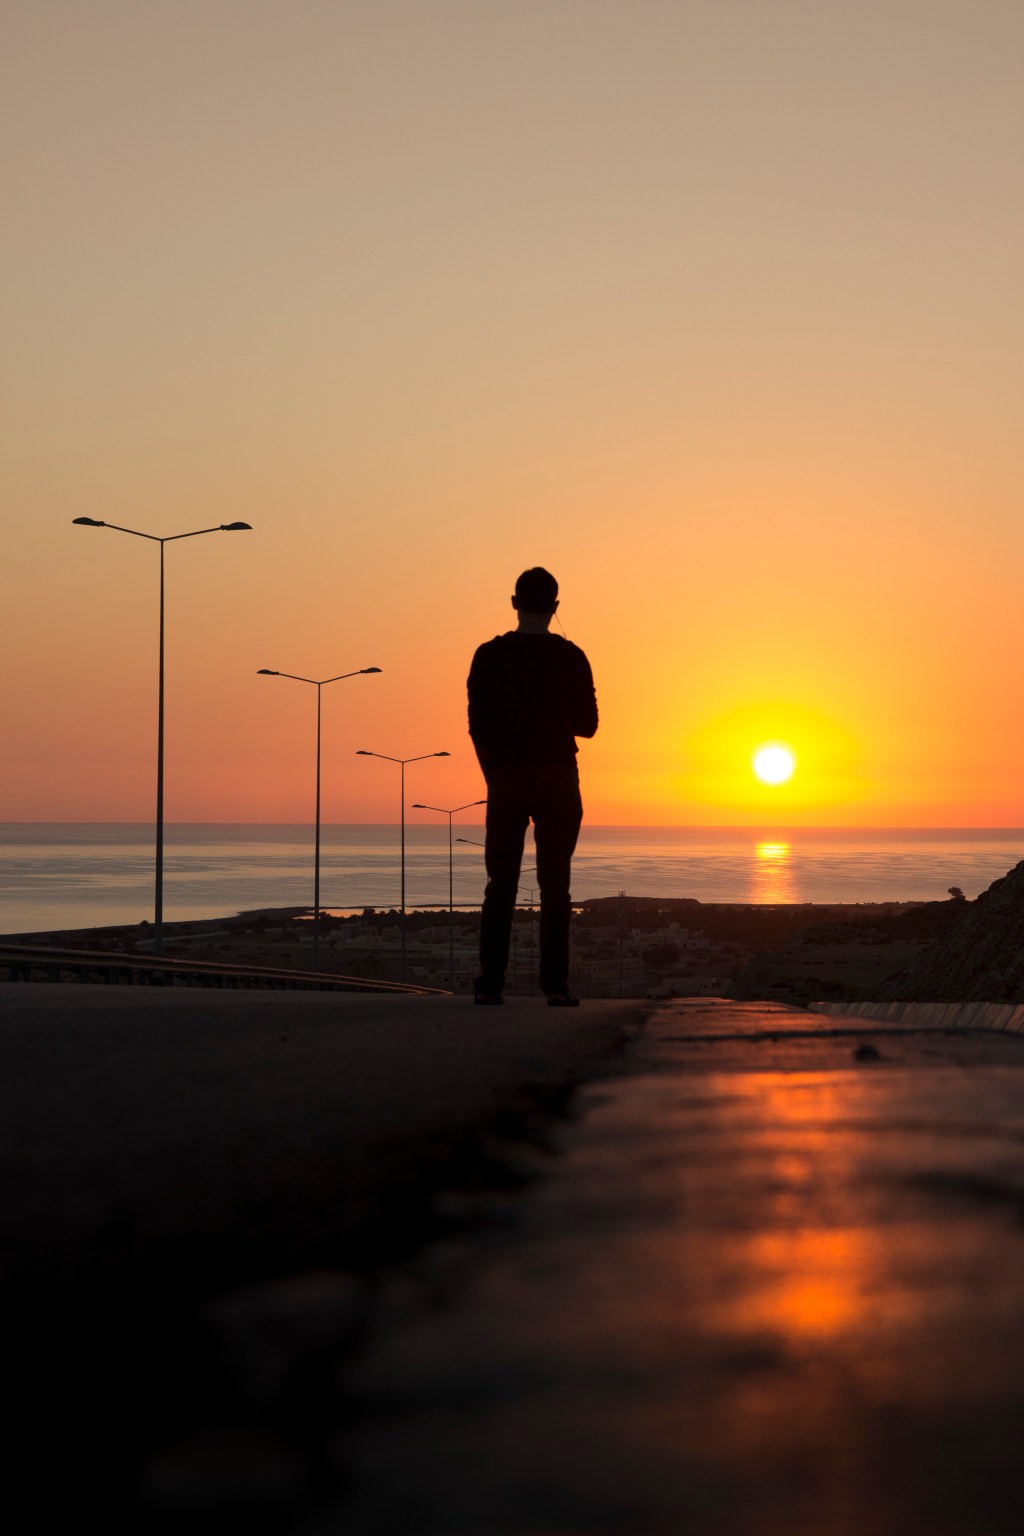
Why silhouettes are beautiful
I love silhouettes as much as I love shooting in black and white. They are unorthodox. They don’t have much definition but they contain much more drama. Whats actually amazing about silhouettes is that rather than major attention on subject , the actual center of attraction is background.This makes it…
-
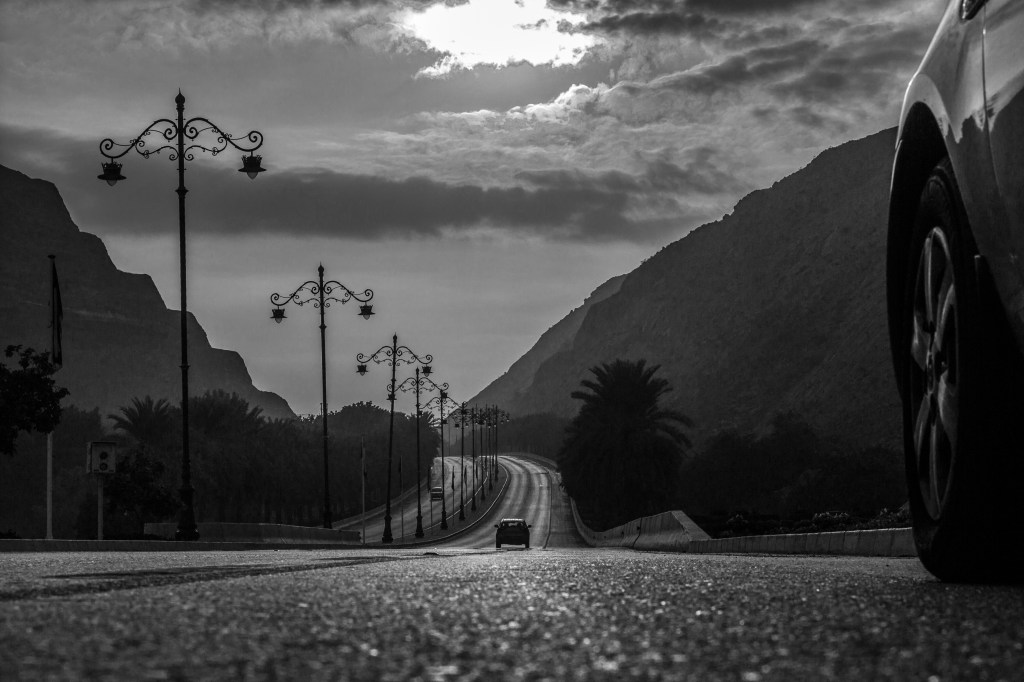
The Power of Black and White photography
There are the reasons why we like black and white photographs. The photographs that tell story bound to have some specific characteristics that are best suited for monochrome treatment. Now here is the list of techniques that you can employ to create really stunning black and white photographs
-
A beginer workflow to STREET Photography
Street photography is one of the most feared and uncertain type of photography in which almost nothing is in your control and almost everything is based on luck. A lot of new photographers who like street photography because it’s classy/candid look and feel are very nervous because it demands too…
