
Most of you, off and on takes a good picture. Whether you are a seasoned PRO or an amateur photographer, you all are proud of some of your work. But the problem is the frequency of which you are producing good quality work.
How many times you faced a situation when after a shoot you check your images,but they are not up to the standard. Do you wonder how PRO photographers produce good quality work on a consistent bases?
If you are intrigue by this questions then this article is for you. The answer to the above dilemma is the Photography workflow. Every PRO photographer has a specific workflow when it comes to taking a picture. Sticking to a specific workflow that gives you good results will increase your consistency of getting good results.
Every photographer has their own workflow
I mostly shoot outdoor/lifestyle and travel/street photography. I devised a very simple workflow that works for me in above mentioned style. You can start with it and tweak it as per your style. It has three steps. Let’s start with it.

1. Identify what caught your attention.
This is probably the foundation of taking a good picture. The definition of an interesting subject is completely subjective. Something might be interesting to you but completely mundane for others.
Before even you lift your camera to your eye, ask yourself what exactly caught your attention. This question is of primary importance as based on that you will continue with the next two steps i.e. lighting and composition.
It could be anything. It could be an interesting outfit someone is wearing on street. It could a beautiful formation of clouds or even some nice pattern or repetition of something. Identifying it initially lets you enhance its impact using other two steps i.e. lighting and composition.

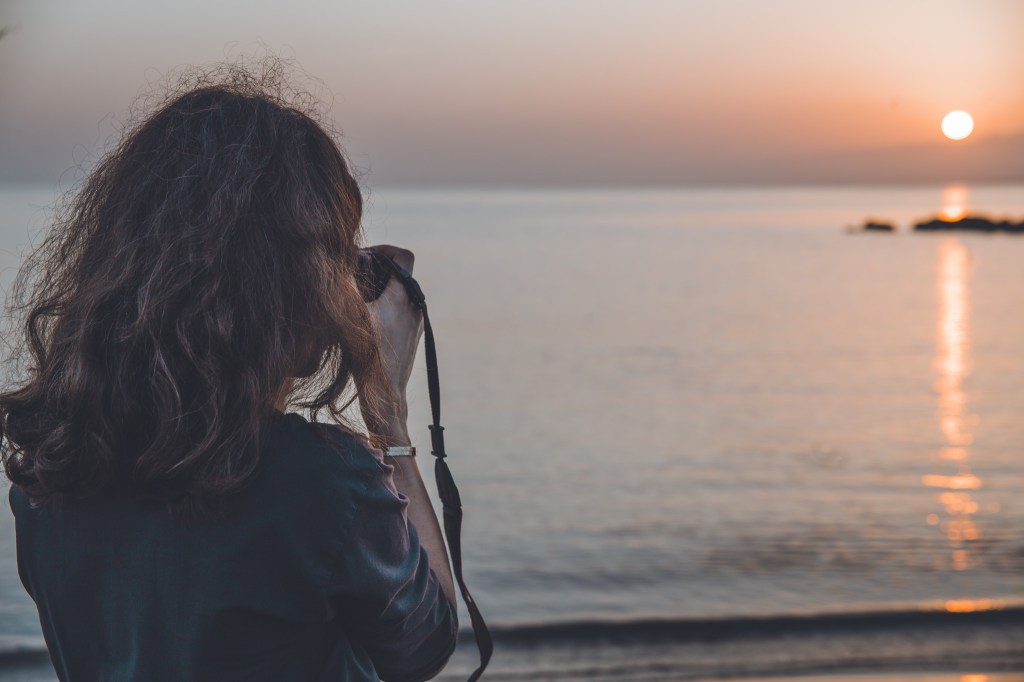
2. Study the Light
It is believed that a photograph is as good as the quality of light. So, studying the lighting condition is very important. Once you identify the subject matter, it’s time to look out for ways to enhance that subject.
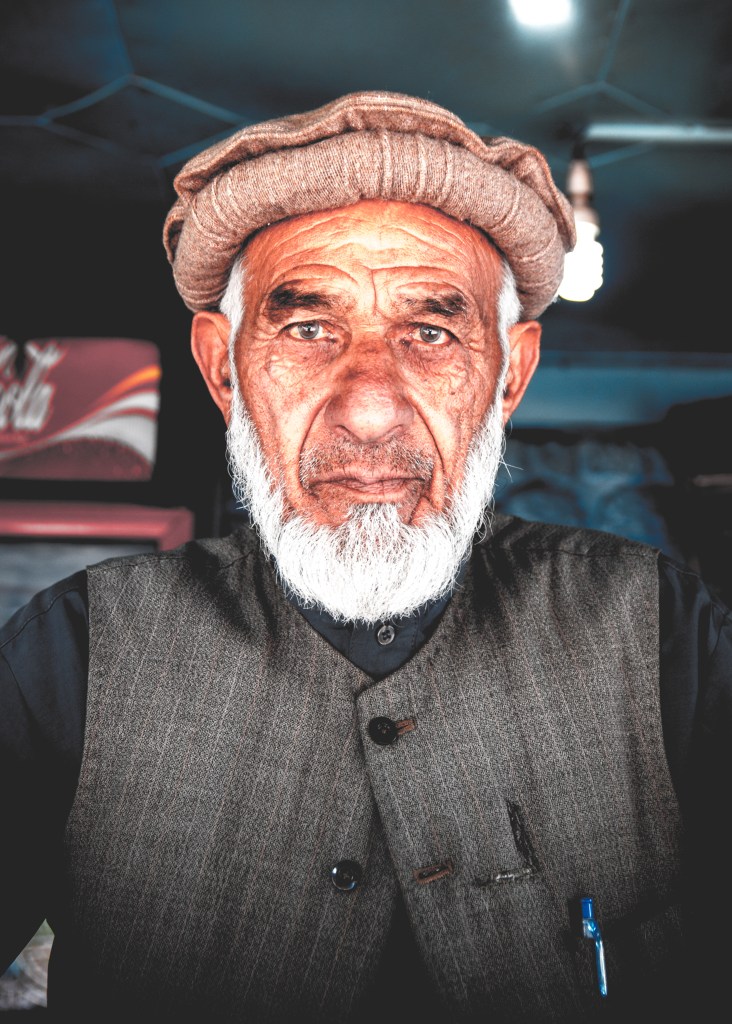
Let’s say that you want to take a portrait of a person. Now, most flattering light for a portrait is soft light. You need to think how you can photograph that person in a soft light. If it is possible to move that person to a shade, then do it. If it is not possible than try to change your angle to see if it can be improved.
Simply put, analyze the current light in which your subject is. And look for ways if something can be done to improve it. Sometimes the subject is so interesting that even in bad light it is worth taking a picture but in most cases if you do a little bit of effort, you will greatly improve the quality of your picture.

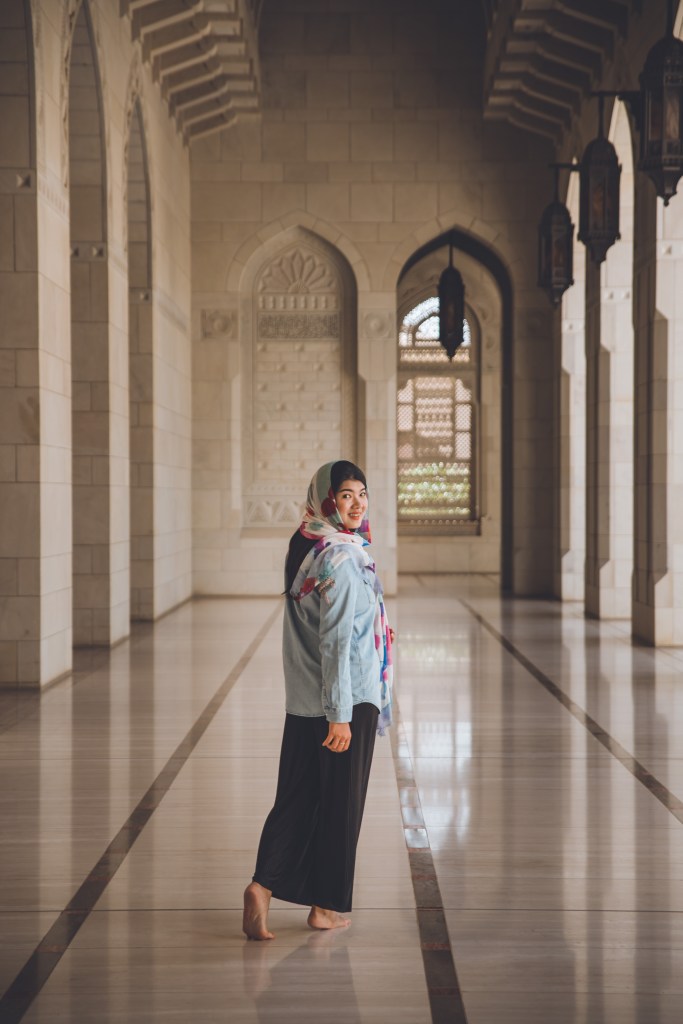
3. Take your time to Compose
After selecting a proper subject and working on light, it’s time to actually compose your picture. Now this is the step where you can be very creative. This step will let you stand out from other people. Lot of photographers when they photograph certain touristic place or situation, they follow the cliche. Spending a little bit of time on your composition will greatly improve your shot.
You can start off with some basic and cliche shots. That will give you initial confidence. Then make your way to more challenging and creative compositions. Now there are lot of aesthetic composition rules that can be applied to enhance your subject. Few of them are as follows.
1. Try to include something related to your subject either in foreground or background. That will emphasize the overall theme. Environmental portrait photographers do this all the time.
2. Use leading lines to direct viewers towards your subject.
3. If surrounding doesn’t support the subject, either use simpler backgrounds or try to blur it as much as possible.
4. Use dodging and burning in post to enhance your subject. Not exactly a composition rule but it does make a difference.
Conclusion
If there is one important thing that I learned over time, it is this. Never hurry when taking a picture. This one practice will immensely improve your picture. Just by delaying shutter click will start improving your pictures.
Make this workflow your day to day practice. It’s not necessary to follow it as it is. You can change it according to your style. But make it quick and simple. That way it will be more practical and can be followed easily.


Leave a comment